Configure Custom Domain and HTTPS on Netlify
In the previous post, I showed you how to create a Hugo-based website and deploy it on Netlify. It’s time to make some improvements, namely, configure DNS records, set up a custom domain and enable HTTPS.
When you deploy for the first time on Netlify, a Netlify subdomain will be assigned to your site, for example, awesome-mclean-11186c.netlify.app. Then you can change the randomly generated part in the subdomain to the site name you want, like adjusting awesome-mclean-11186c.netlify.app to kiroule.netlify.app, and continue as is. But it’s evident that for your personal website, you should use a custom domain, which helps a lot in promoting yourself as a brand and improving credibility. Also, owning a domain comes with the option of having personalized email addresses, for instance, igor@kiroule.com, which I put on my About page.
As far as HTTPS is concerned, even if this is your own blog where you do not collect any sensitive information, having a secure connection gives the perception of you as a trusted source. Other than that, it can also slightly improve your Google search rankings.
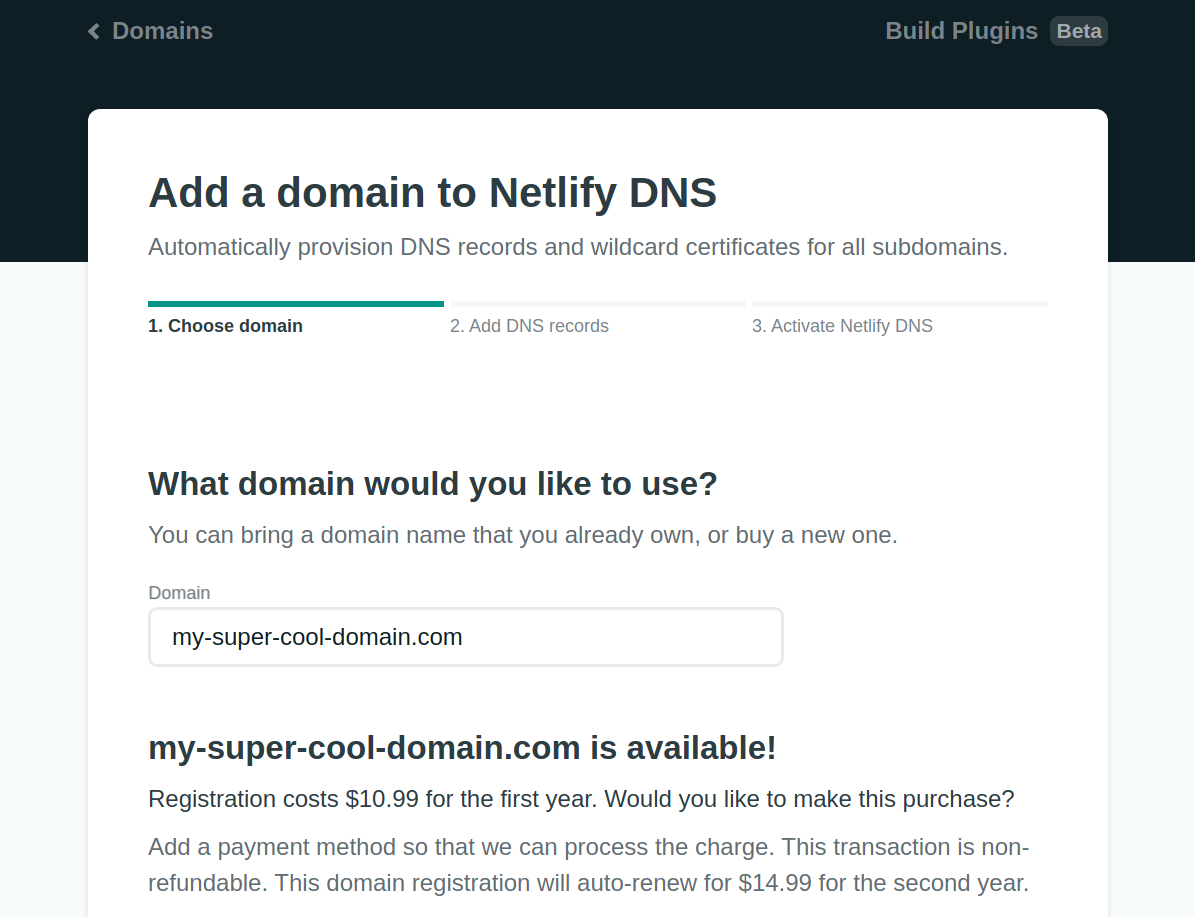
This tutorial has the following tasks to complete: The only prerequisite here is that you take care to purchase a domain name in advance. There are a few domain registrars where you can buy it (e.g., Bluehost, GoDaddy or Namecheap). As for Netlify, they also sell and register domain names:
Configure DNS Records
DNS (Domain Name System) records are rules that define how domain name servers handle traffic to domains and subdomains. Updating DNS records is a necessary step, once you obtain your custom domain. In our case, this will allow you to connect the domain to Netlify hosting. Since I bought kiroule.com domain name from Namecheap, it’s shown here how to do that in my Namecheap account, but the same configuration procedure can be done with most of the domain registrars.
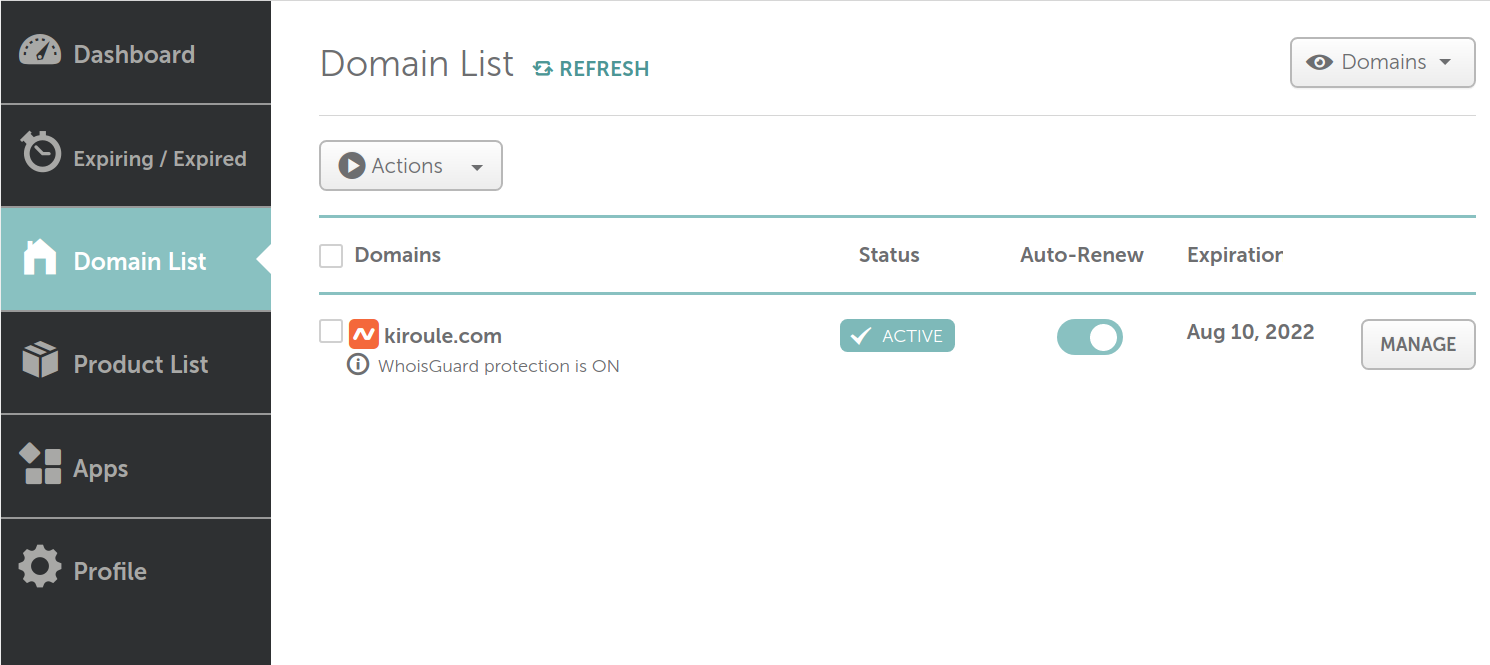
After signing in to Namecheap, select Domain List from the left sidebar and click on the Manage button:
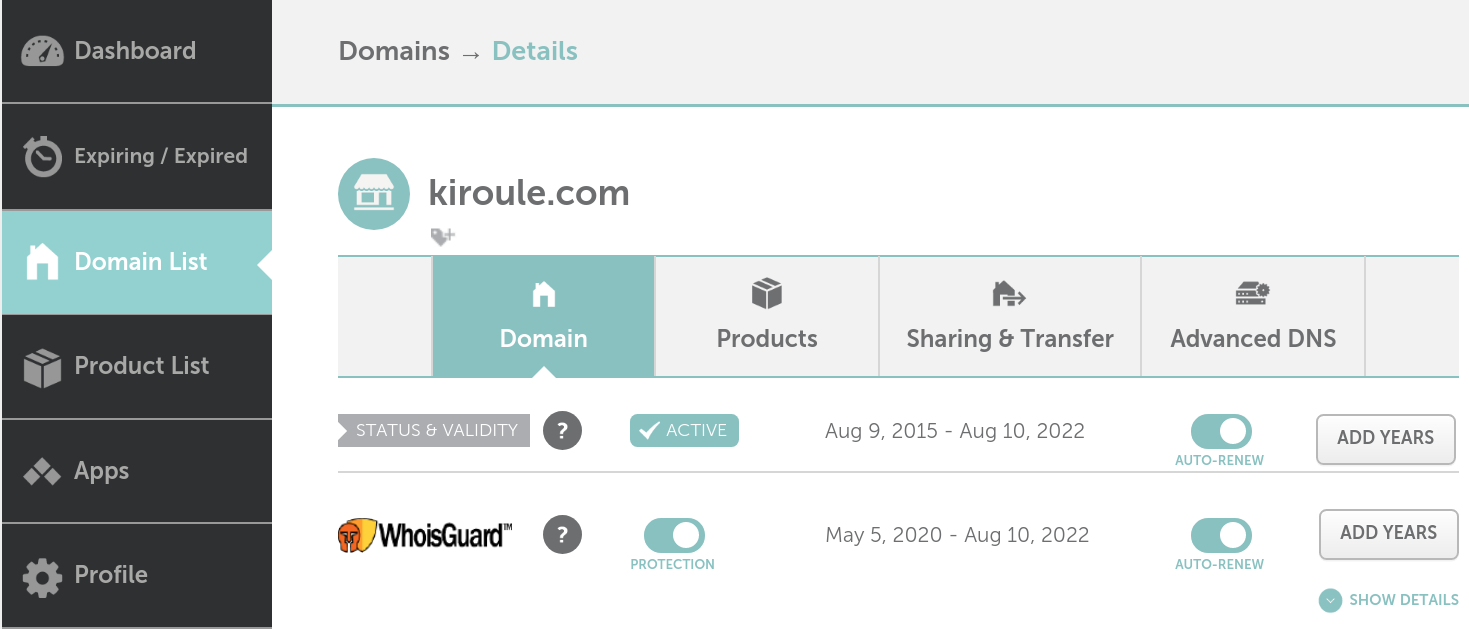
In the Details view, choose the Advanced DNS tab:
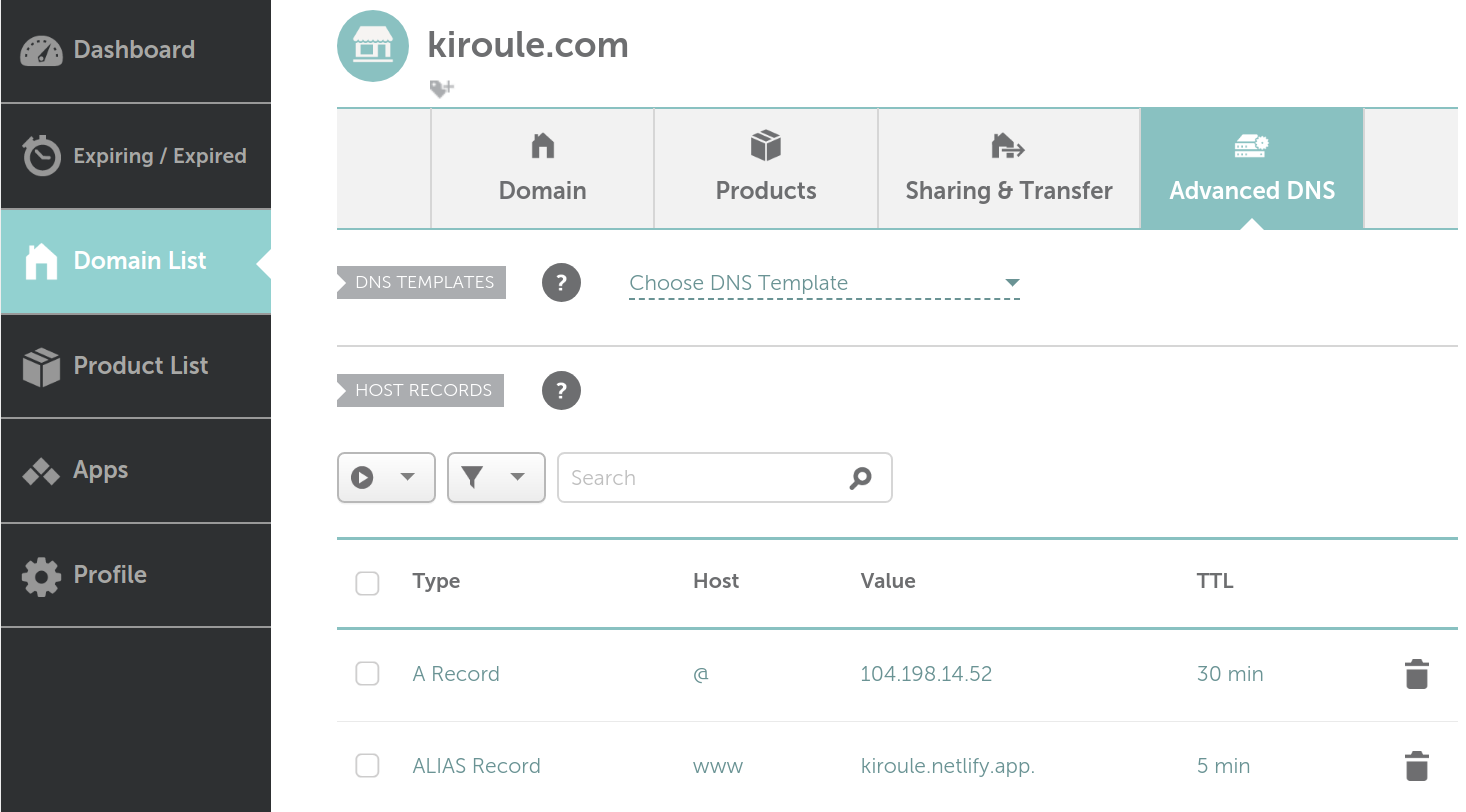
In the Host Records section, add A Record and ALIAS Recordentries.
A Record is an address record, which maps host names to their IPv4 addresses. To configure it, use the following settings:
Type: A Record
Host: @
Value: 104.198.14.52
TTL: 5 min
Here, the 104.198.14.52 value is Netlify’s load balancer IP address.
ALIAS Record is a virtual host record, which allows pointing one domain name to another one. To configure it, use the settings below:
Type: ALIAS Record
Host: www
Value: [name-of-your-site].netlify.app
TTL: 5 min
TTL (Time to live) is a propagation time, which defines how fast a DNS record update is pushed to DNS servers around the world.
Set up Custom Domain
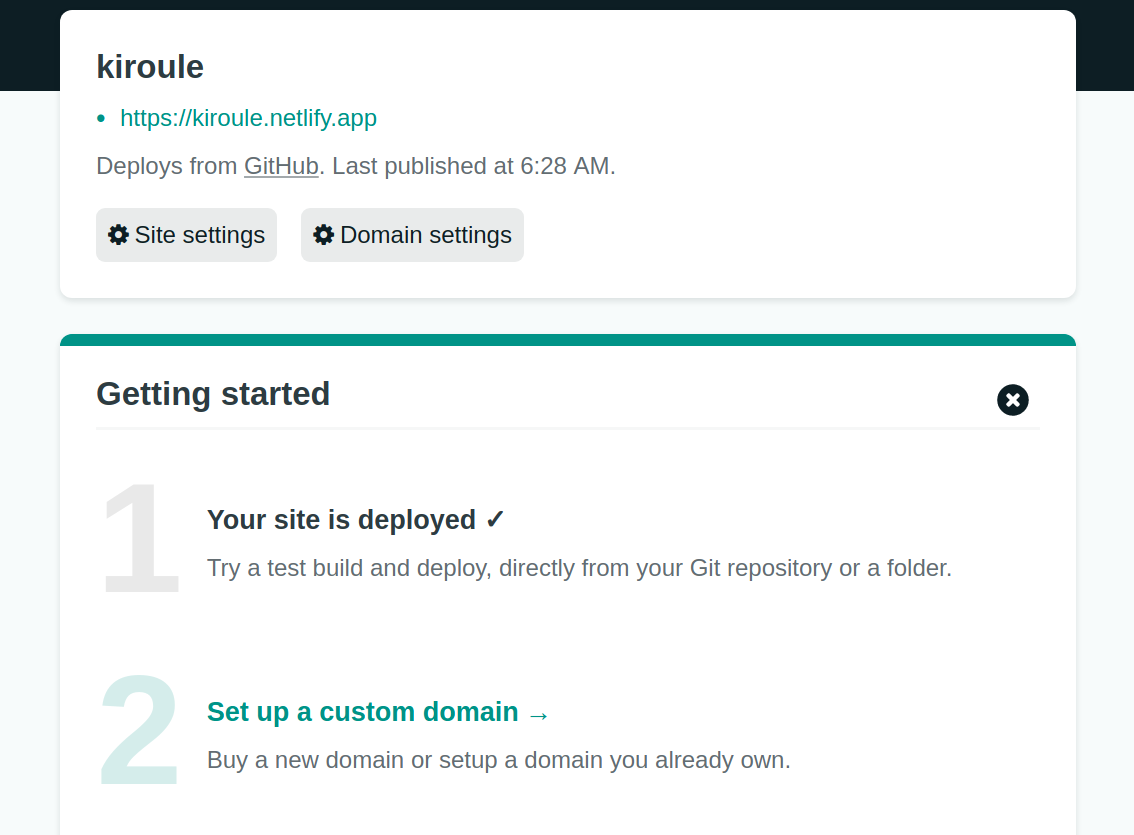
Sign in to Netlify and navigate to the site in question:

Select Set up a custom domain in the Overview tab:
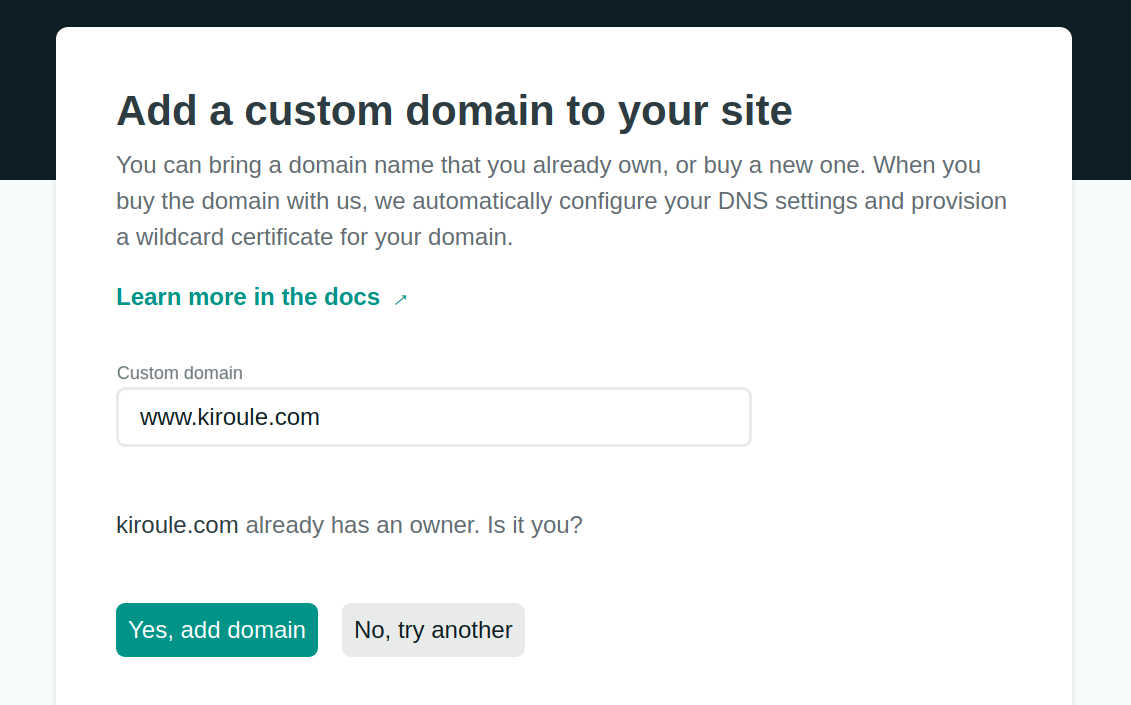
Enter your custom domain value and click on the Verify button:

Then confirm that you own the domain name by clicking on the Yes, add domain button:
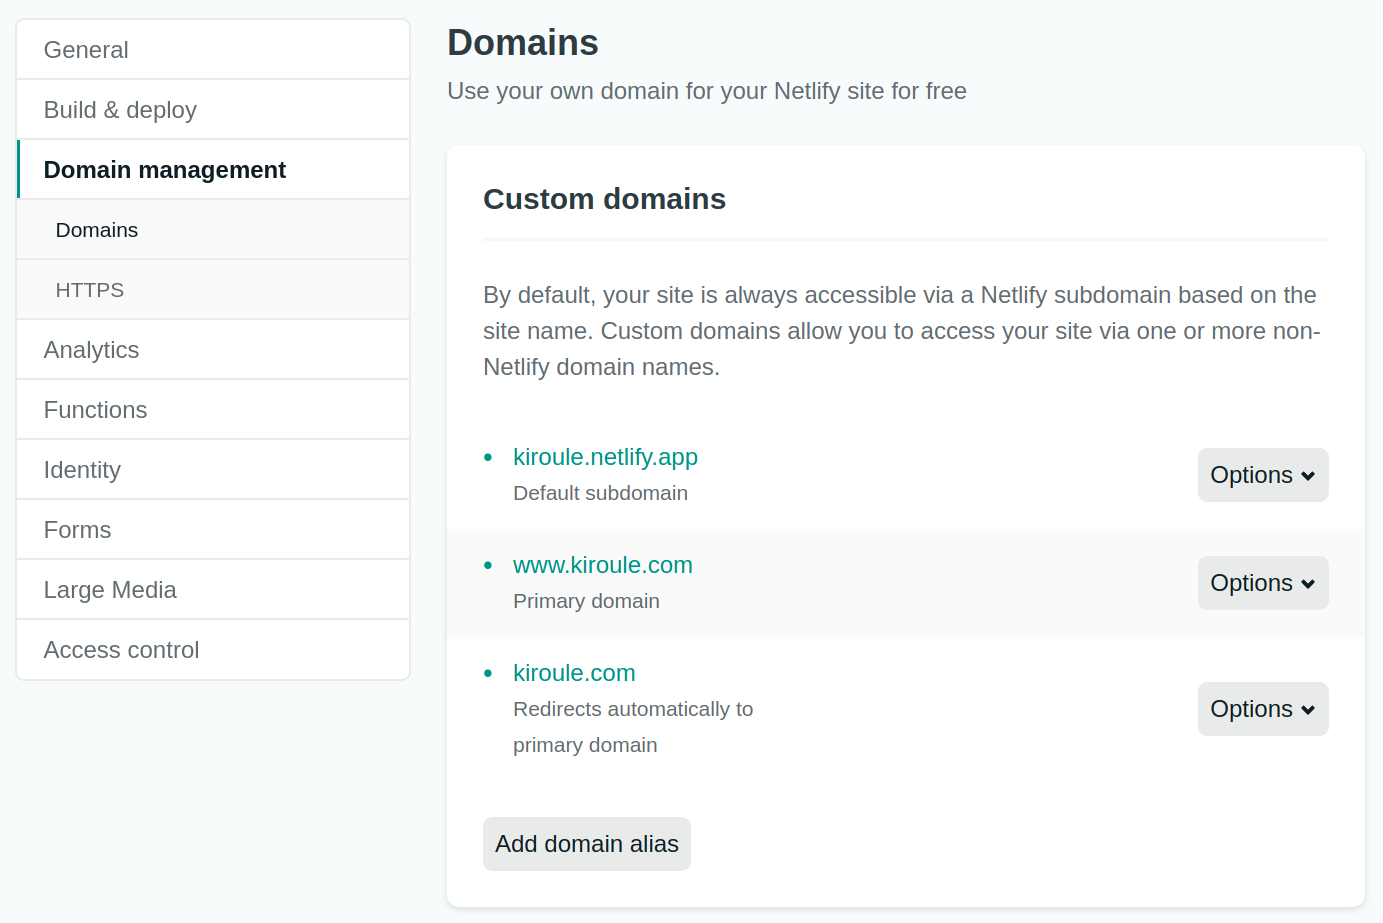
To verify that the custom domain has been correctly configured, open the Settings tab and select the Domain management from the left sidebar. The Custom domains subsection should contain three domains: Netlify’s default subdomain, your domain and your domain prefixed with www..
Enable HTTPS
Netlify hosting comes with free HTTPS for all sites, including the automatic creation and renewal of TLS-based certificates. These certificates are provided through Let’s Encrypt, a nonprofit Certification Authority.
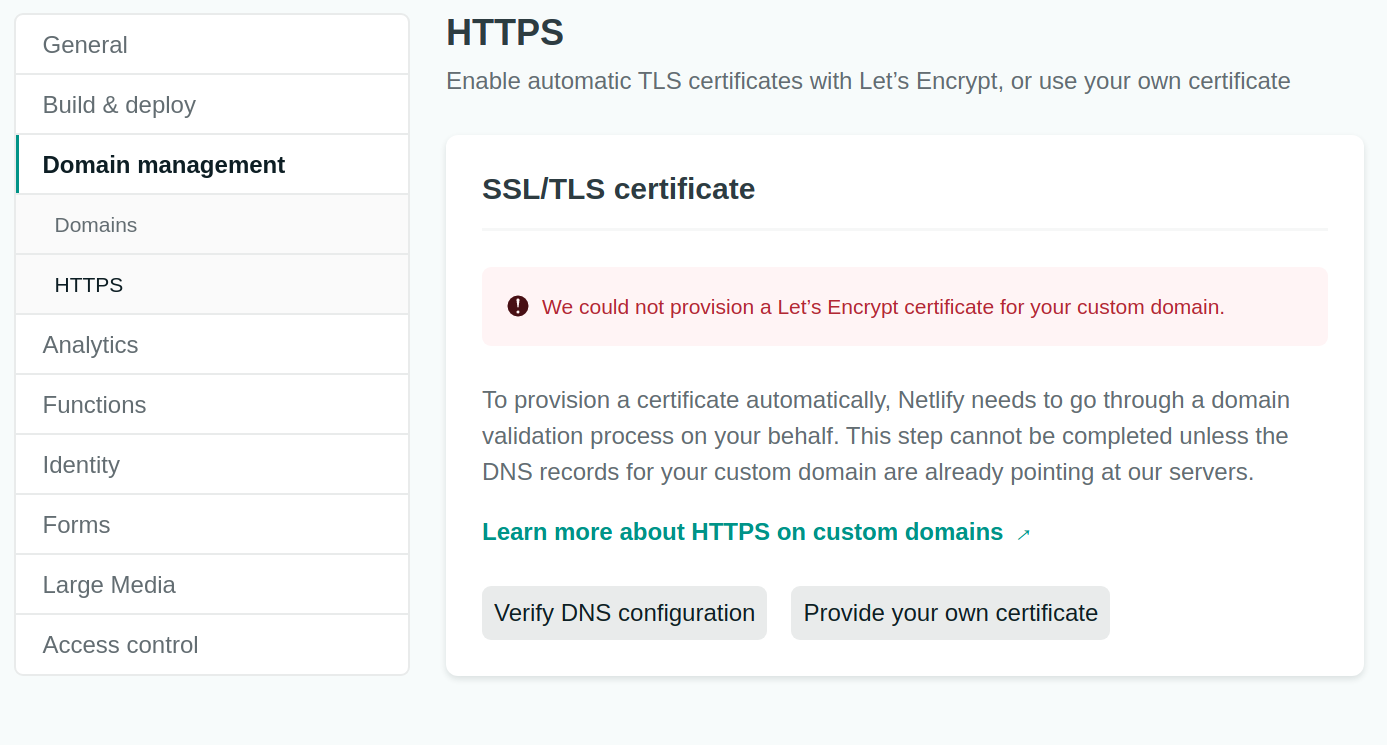
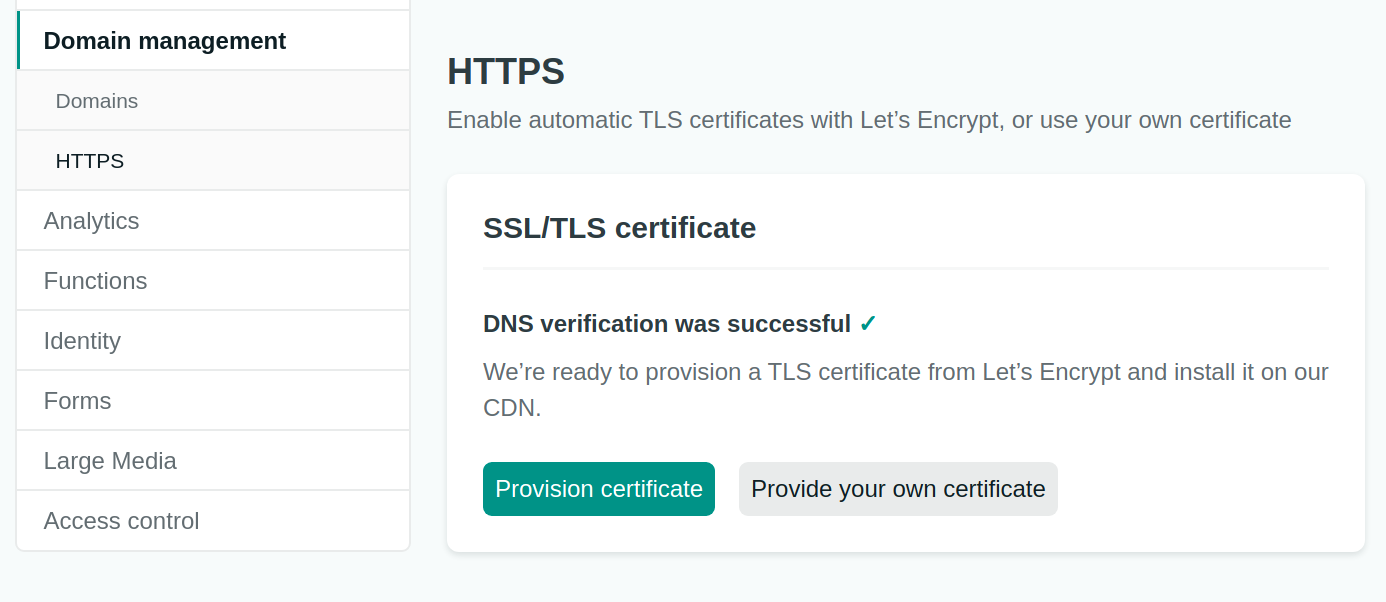
In the Domain management, scroll down to the SSL/TLS certificate subsection, then click on the Verify DNS configuration button:
Upon successful DNS verification, continue by clicking on the Provision certificate button:
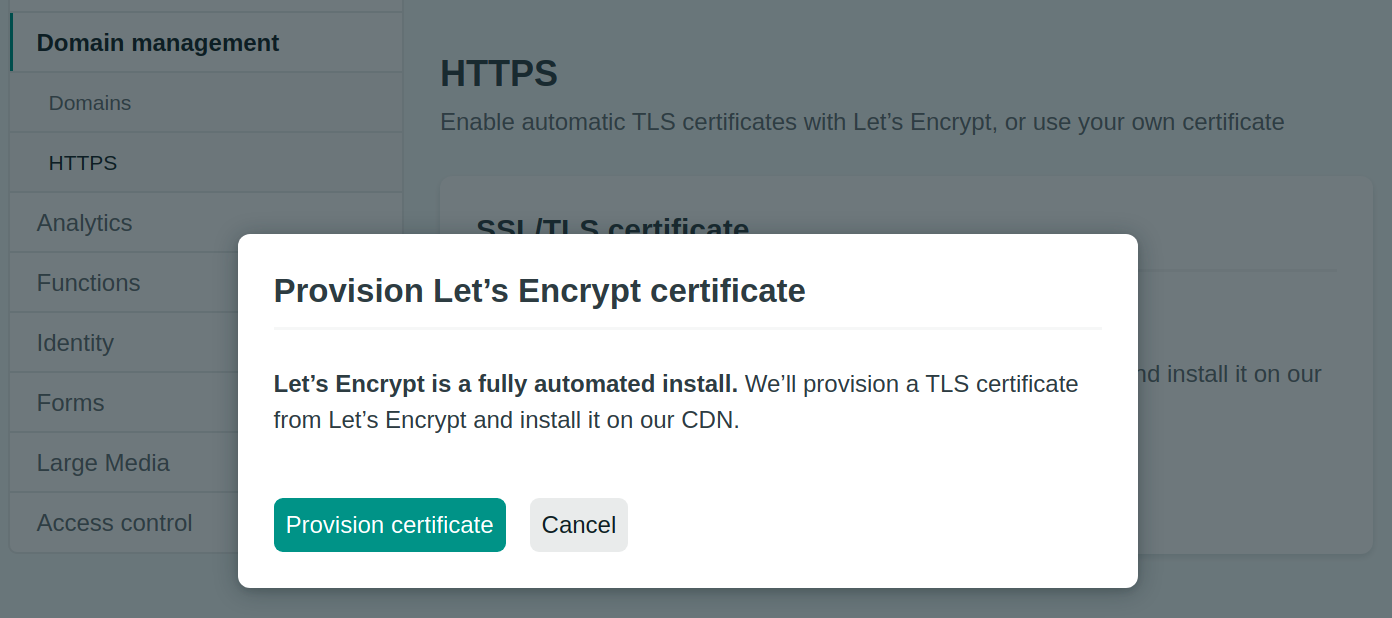
Confirm once again the provisioning of Let’s Encrypt certificate:
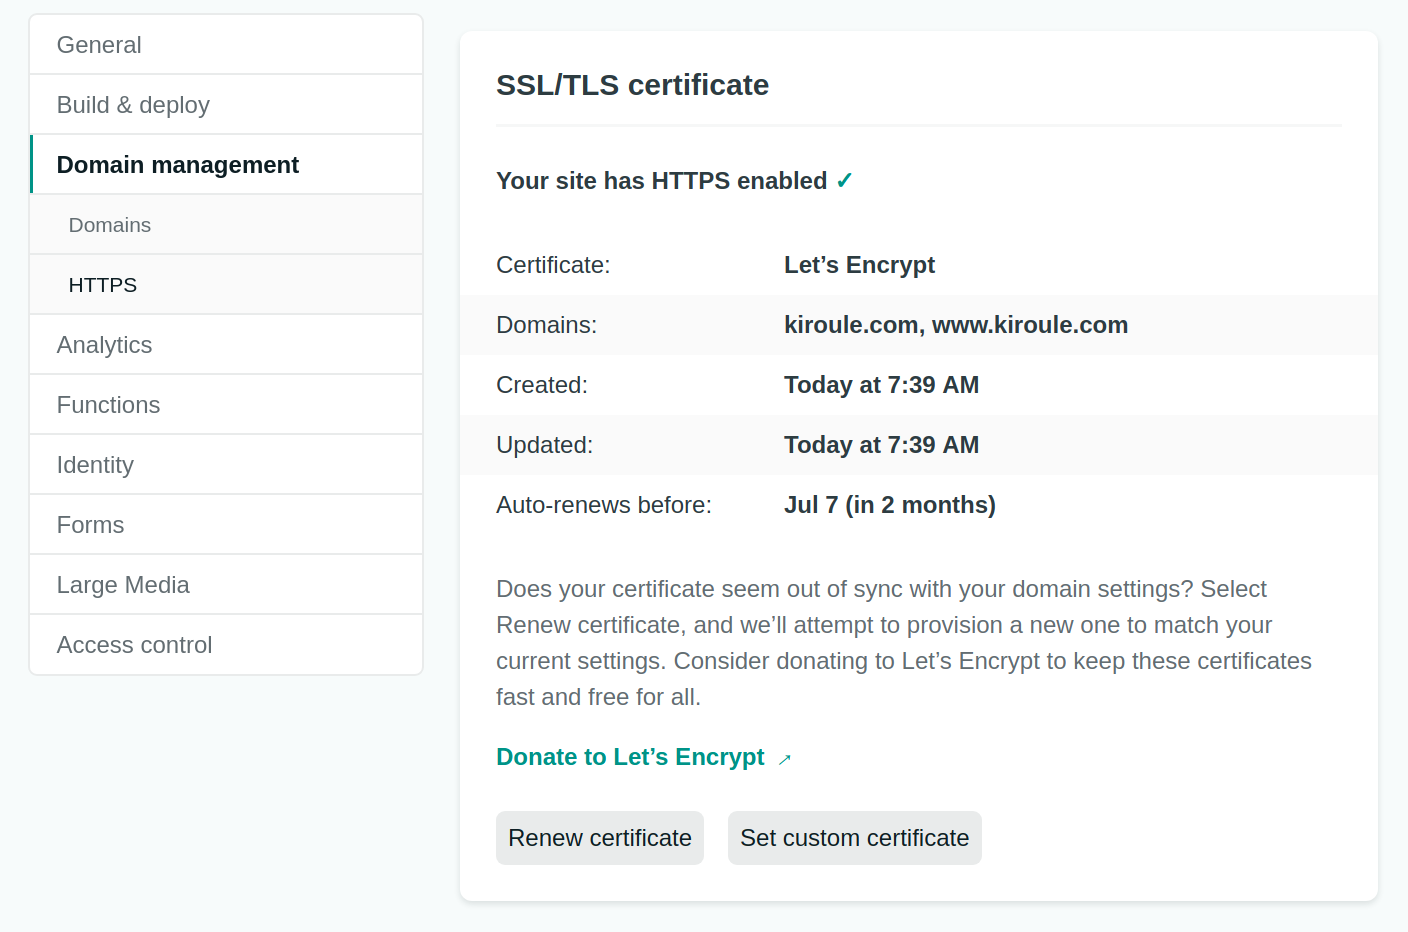
If the provisioning of the certificate were successful, the SSL/TLS certificate subsection would contain Your site has HTTPS enabled message as it’s shown below:
Update Base URL
Before testing the blog with new primary domains, it’s necessary to update the baseUrl setting in your site’s config.toml file accordingly. Otherwise, the website will not be correctly rendered.
baseURL = "https://www.kiroule.com/"
Commit and push the change to GitHub. This update should trigger a new build and deploy in Netlify. So go back to Netlify and verify in the site’s Overview tab that the site was successfully published.
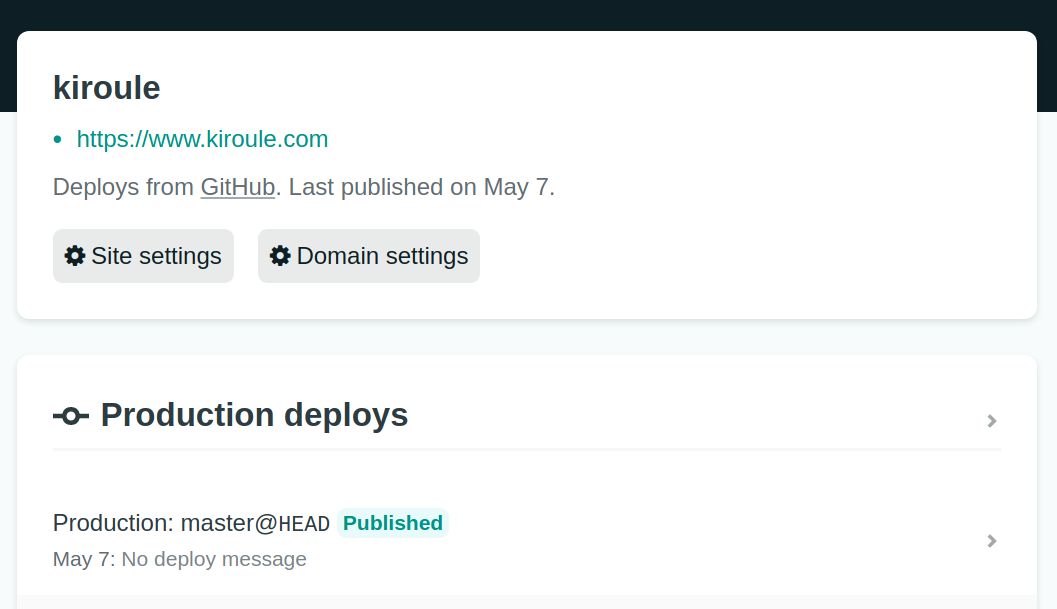
Now, it’s time to test the new URL:
Summary
In this article, I showed you how to enhance the newly created website. First, I demonstrated to you how to add new DNS records in a Namecheap account. Then you saw how to configure a custom domain and enable HTTPS in Netlify. And the final step was updating the config.toml file to make sure that the blog is displayed without any issues.
Continue reading the series “Building Your Blog, the Geeky Way”:
- Start Blogging With Hugo, GitHub and Netlify
- Configure Custom Domain and HTTPS on Netlify
- Add Favicon to Hugo-Based Website
- Automate Data Upload to Algolia Index
- Manage Environment-Specific Settings for Hugo-Based Website
- Automate Data Upload to Algolia Index : Revisited
- Configure Custom Domain and HTTPS in Netlify : Revisited
- Use Aliases to Redirect Old URLs
- Automate Data Upload to Algolia Index with GitHub Actions